Client Onboarding Workflow Demonstration
-
Initial Setup:
- On the left side, we have the Admin module, and on the right, we have an incognito screen representing the client experience.
- Throughout this process, you'll observe the Admin actions on the left and the Client's experience on the right.
-
Form Submission:
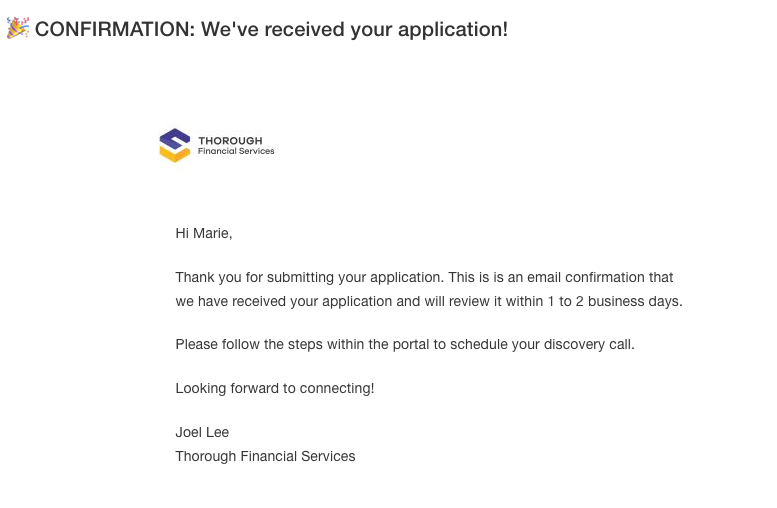
- The client fills out the Interest Form with their information and submits it.
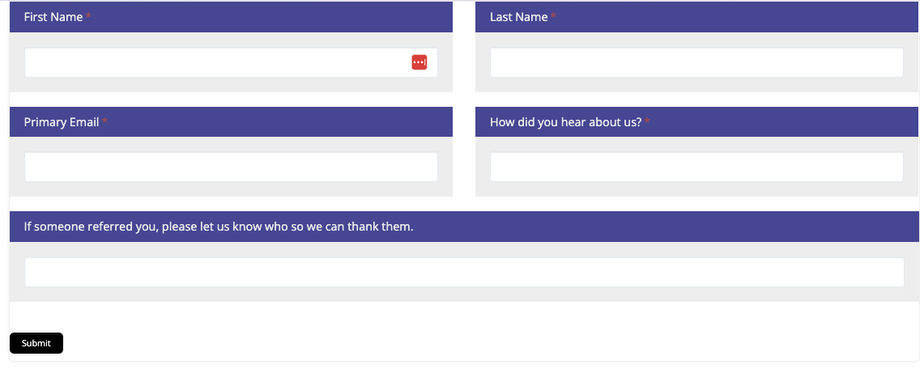
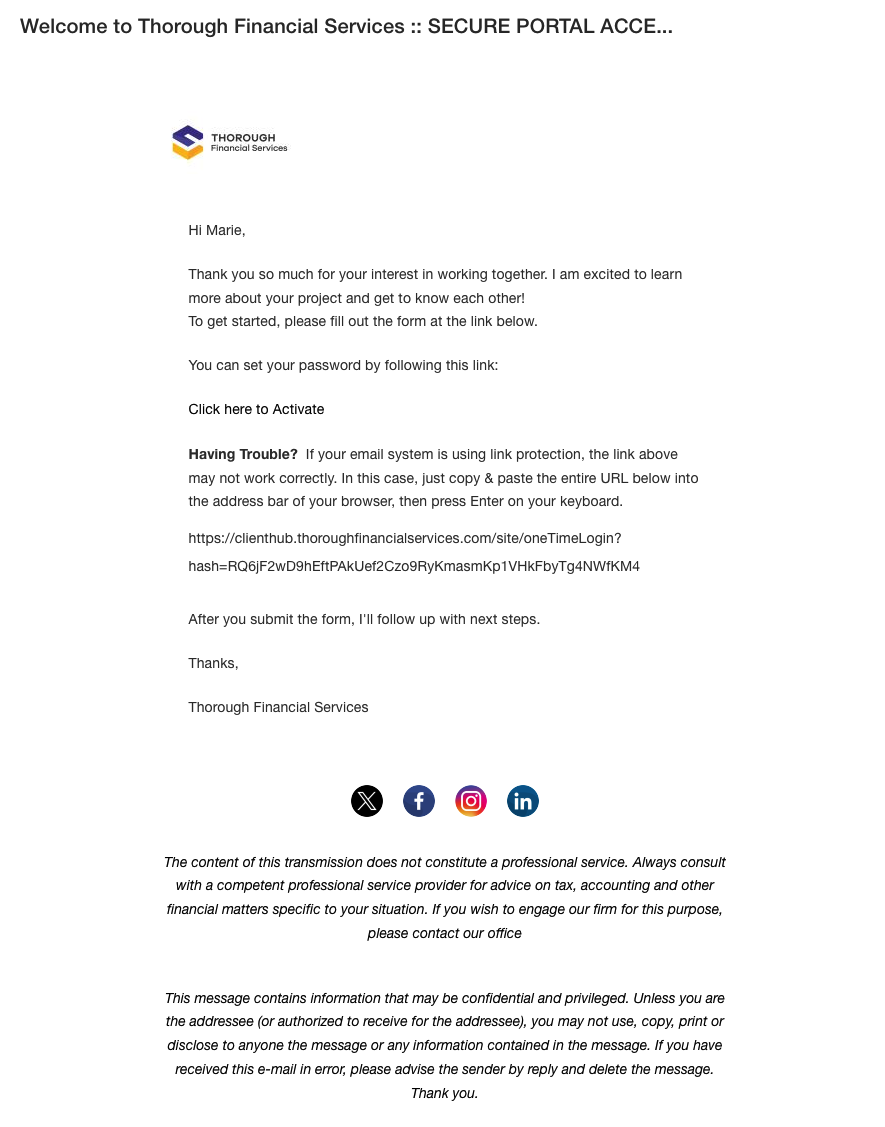
- Upon submission, they see a confirmation screen and receive a welcome email.
Confirmation Screen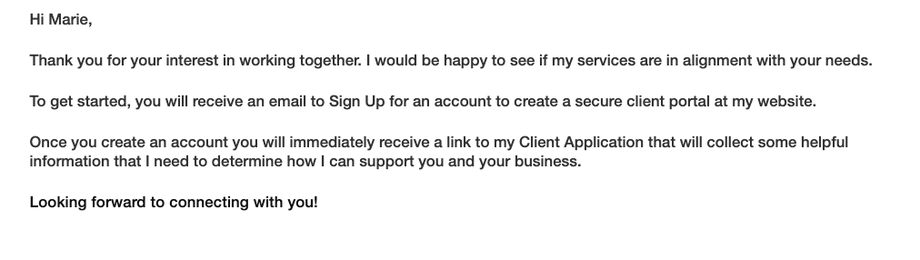 Email Notification
- The welcome email includes a link for the client to register in the system.
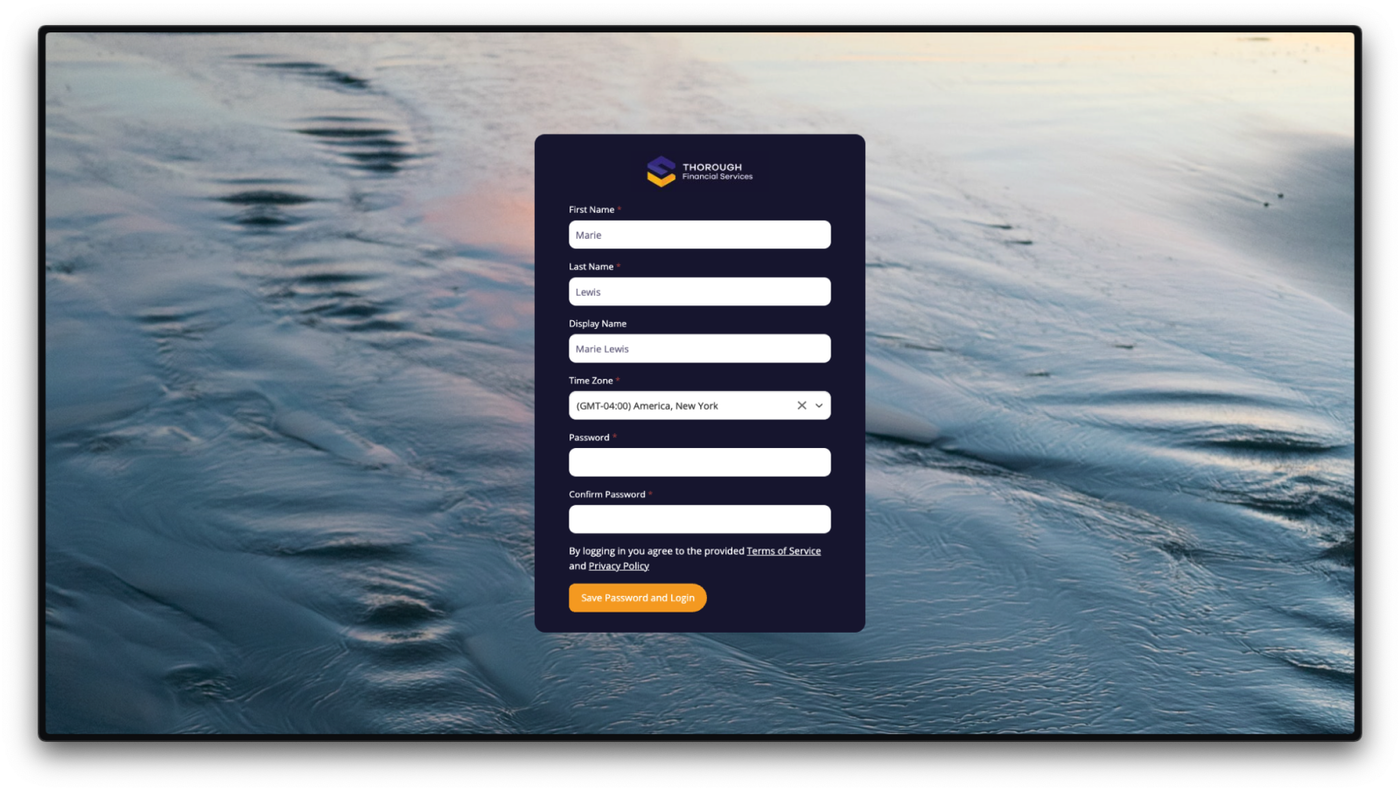
- The client follows the link, which directs them to the registration page to create their account

- The client fills out the Interest Form with their information and submits it.
-
Client Registration:
- The client sets up their password following the required criteria and logs into the system.
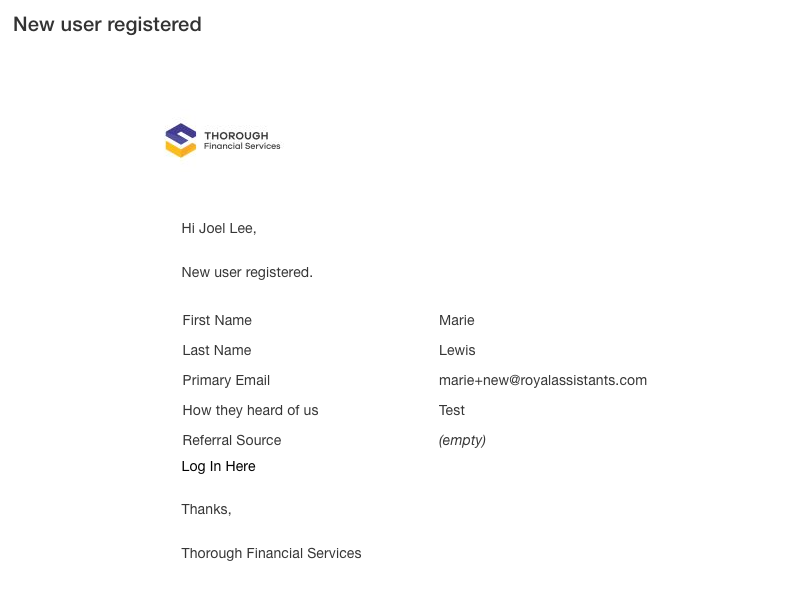
- Admin receives a notification of a new user registration in the activity stream.
- They are added to the Lead.00 Circle and Schedule.
Admin New User Registration Client Registration Page
-
Admin Verification:
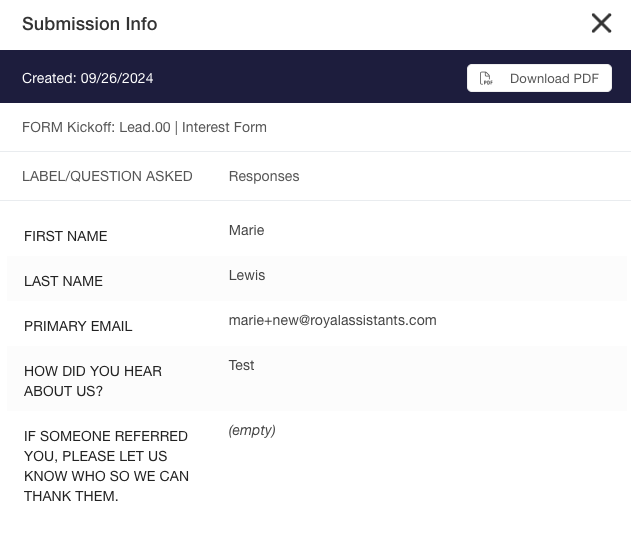
- Admin checks the submissions in the Admin module.
- Forms > Lead.00 | Interest Form > Submissions
- Direct Link: https://app.suitedash.com/frm/u/2qPAedRK6LCrfrePW/submissions
- The details, including the client’s name, email, and referral source, are visible.
- The system logs the new user and updates the prospect onboarding flow.


- Admin checks the submissions in the Admin module.
-
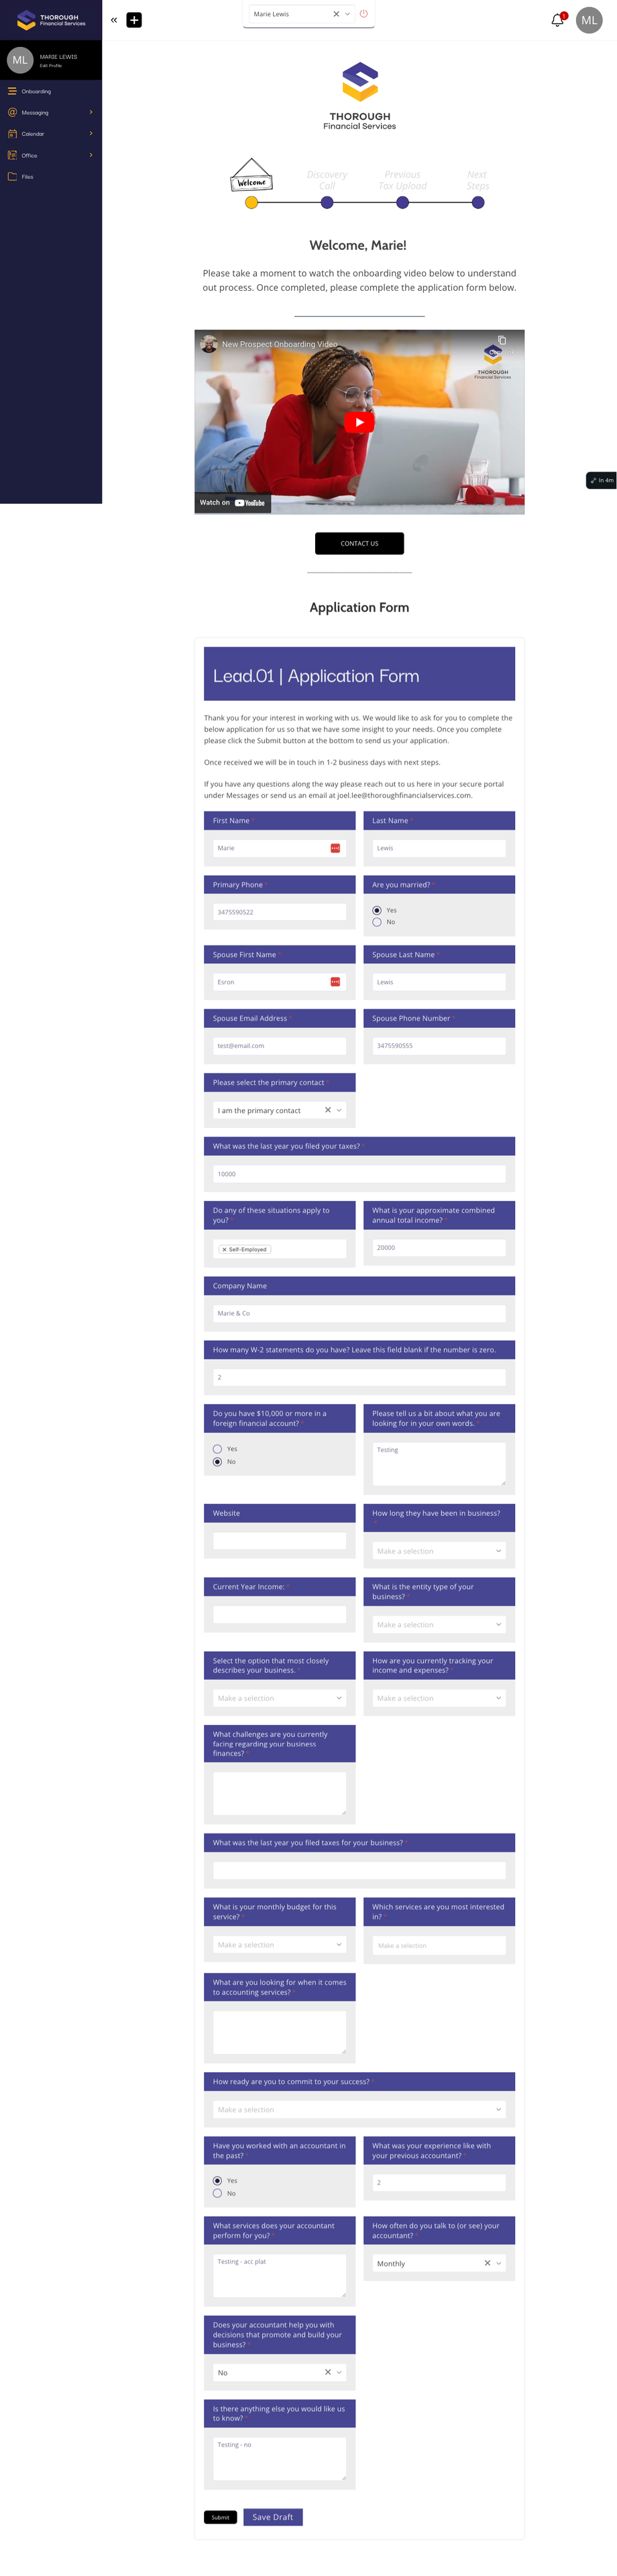
Client Application Process:
- The client completes the application form, including conditional logic fields (e.g., marital status, spouse information).
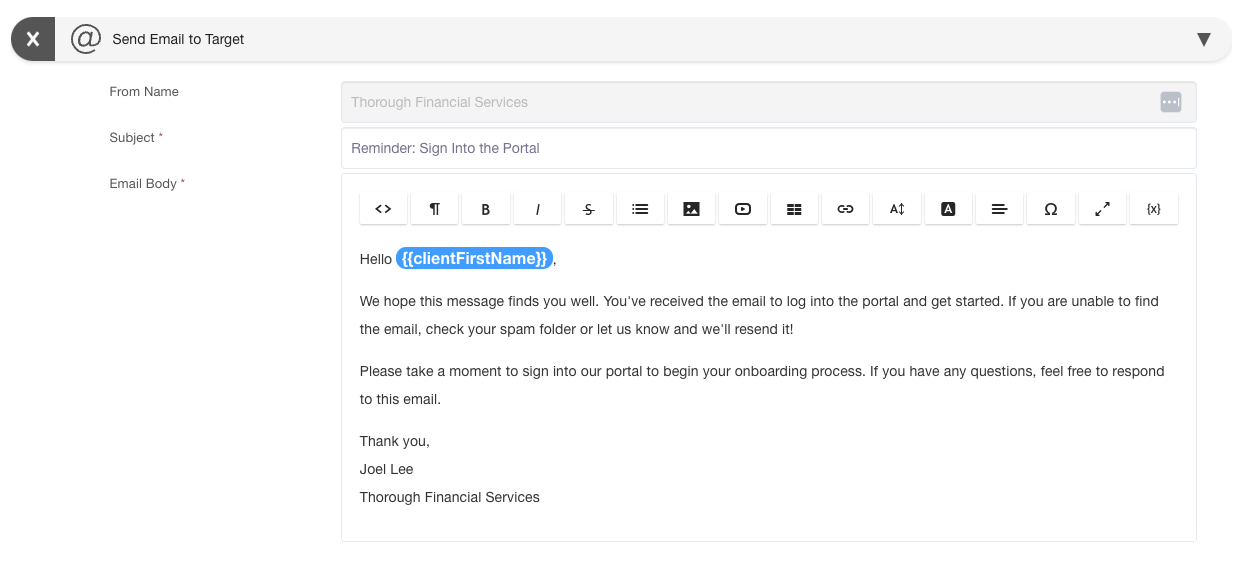
 Client Email Notifications
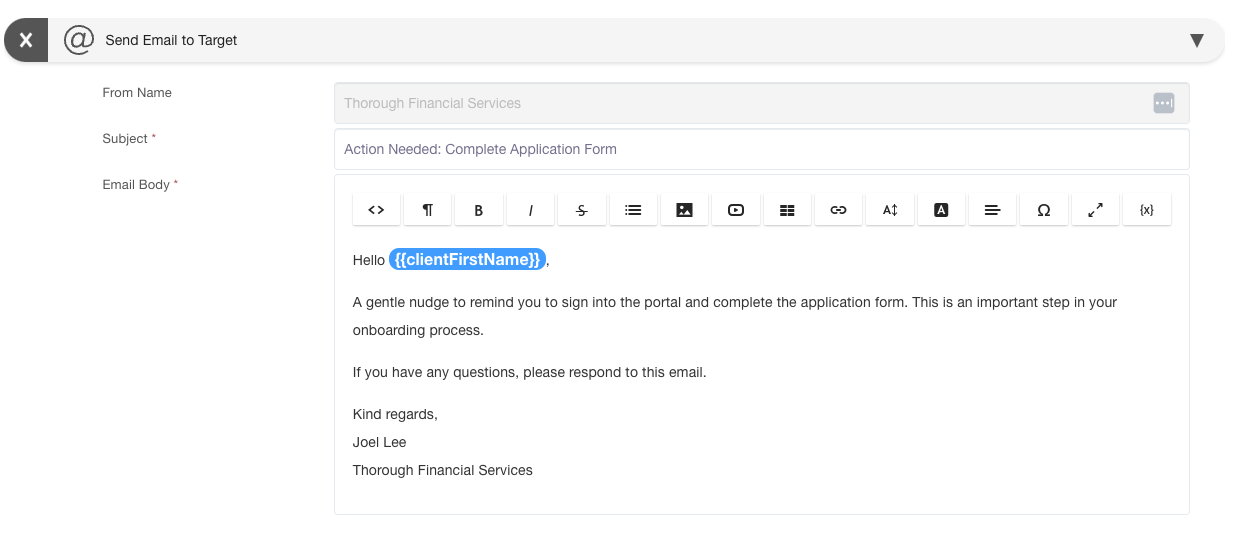
Schedule Direct Link: https://app.suitedash.com/schedules/actions?scheduleID=2180- Lead.00 | Welcome & Application Schedule x Email # 1: Sent 1 Day after entering the Lead.00 Circle

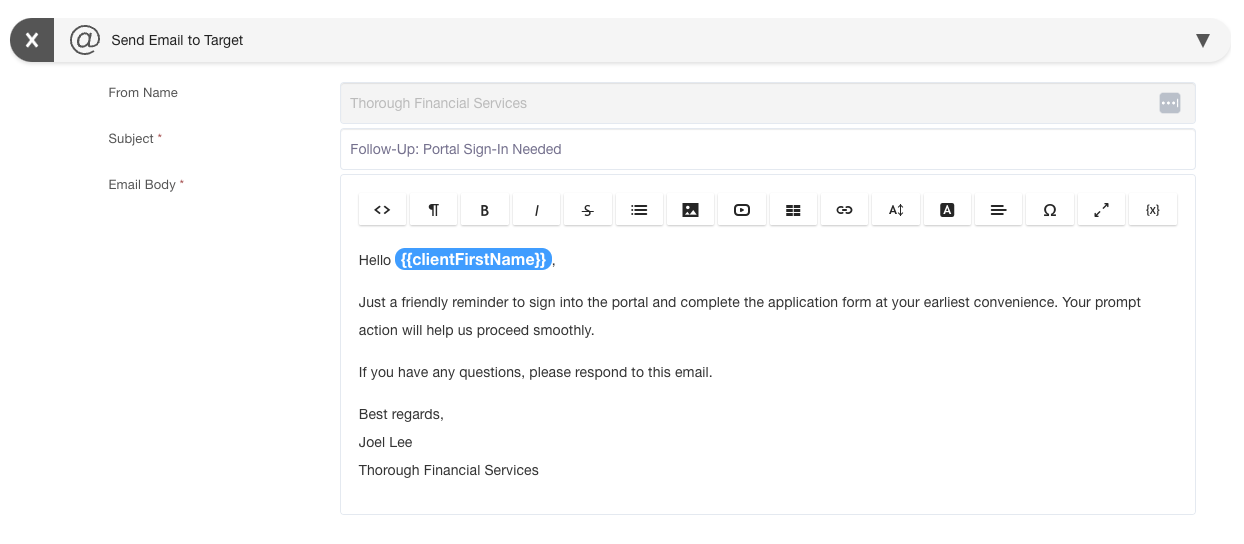
- Lead.00 | Welcome & Application Schedule x Email # 2: Sent 3 Days after entering the Lead.00 Circle

- Lead.00 | Welcome & Application Schedule x Email # 3: Sent 1 Week after entering the Lead.00 Circle

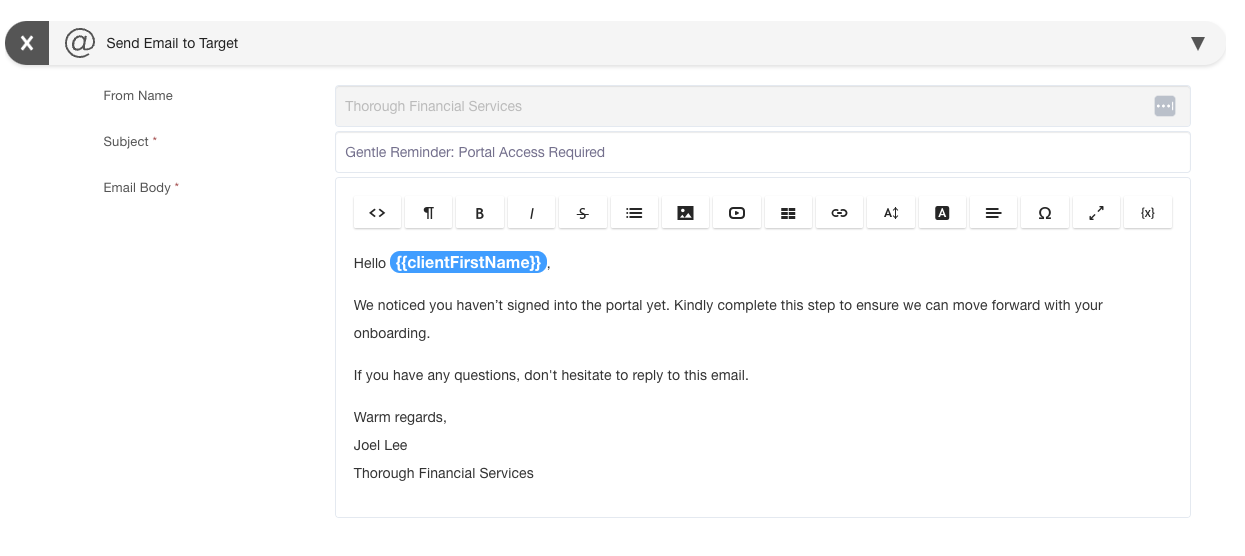
- Lead.00 | Welcome & Application Schedule x Email # 4: Sent 11 Days after entering the Lead.00 Circle
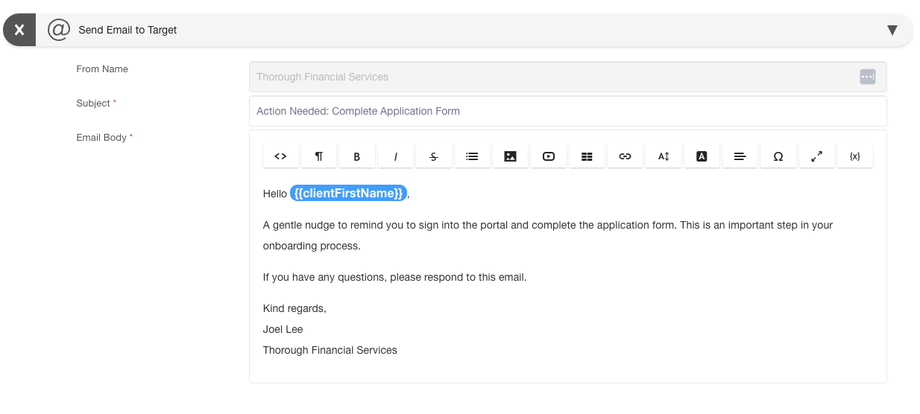
- Application Completion:
- Lead.00 | Welcome & Application Schedule x Email # 1: Sent 1 Day after entering the Lead.00 Circle
- The client completes the application form, including conditional logic fields (e.g., marital status, spouse information).
-
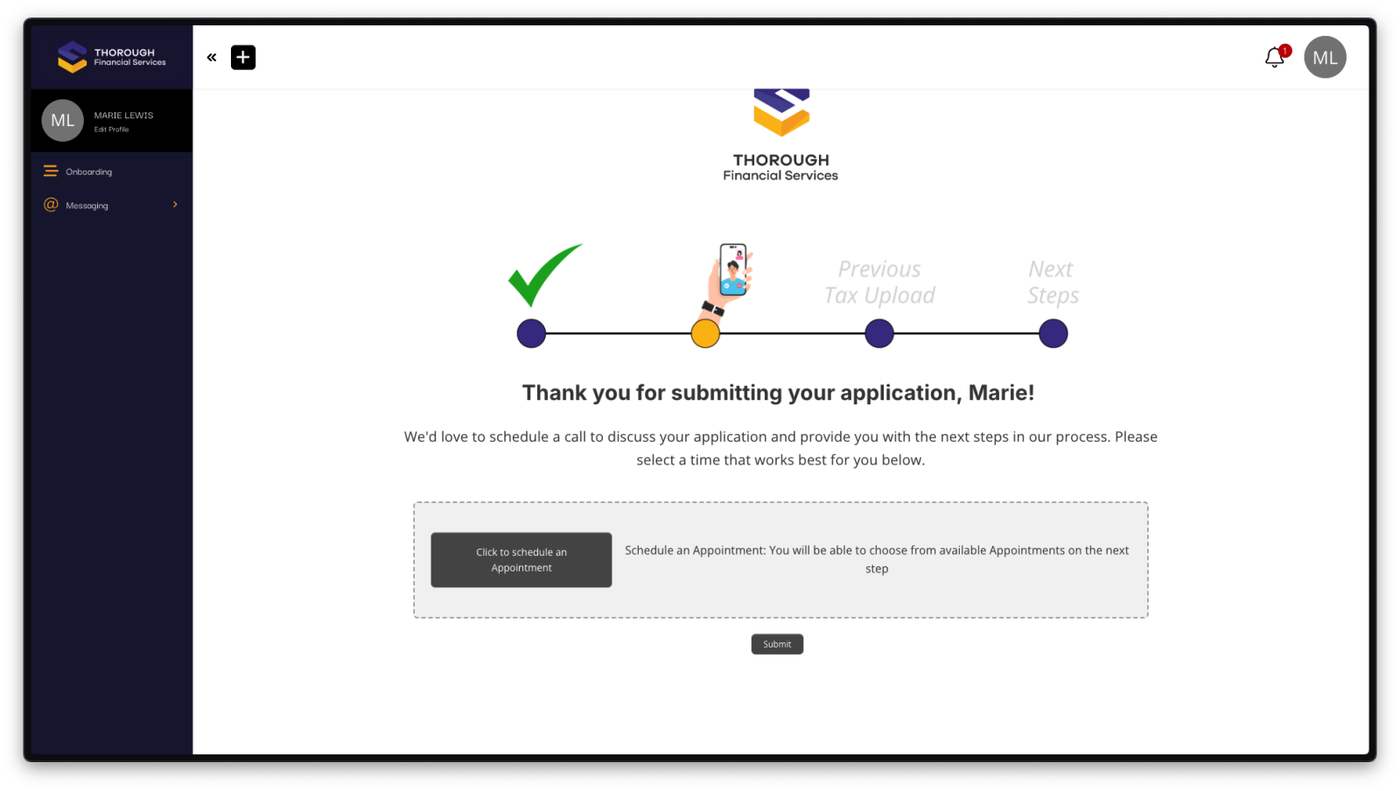
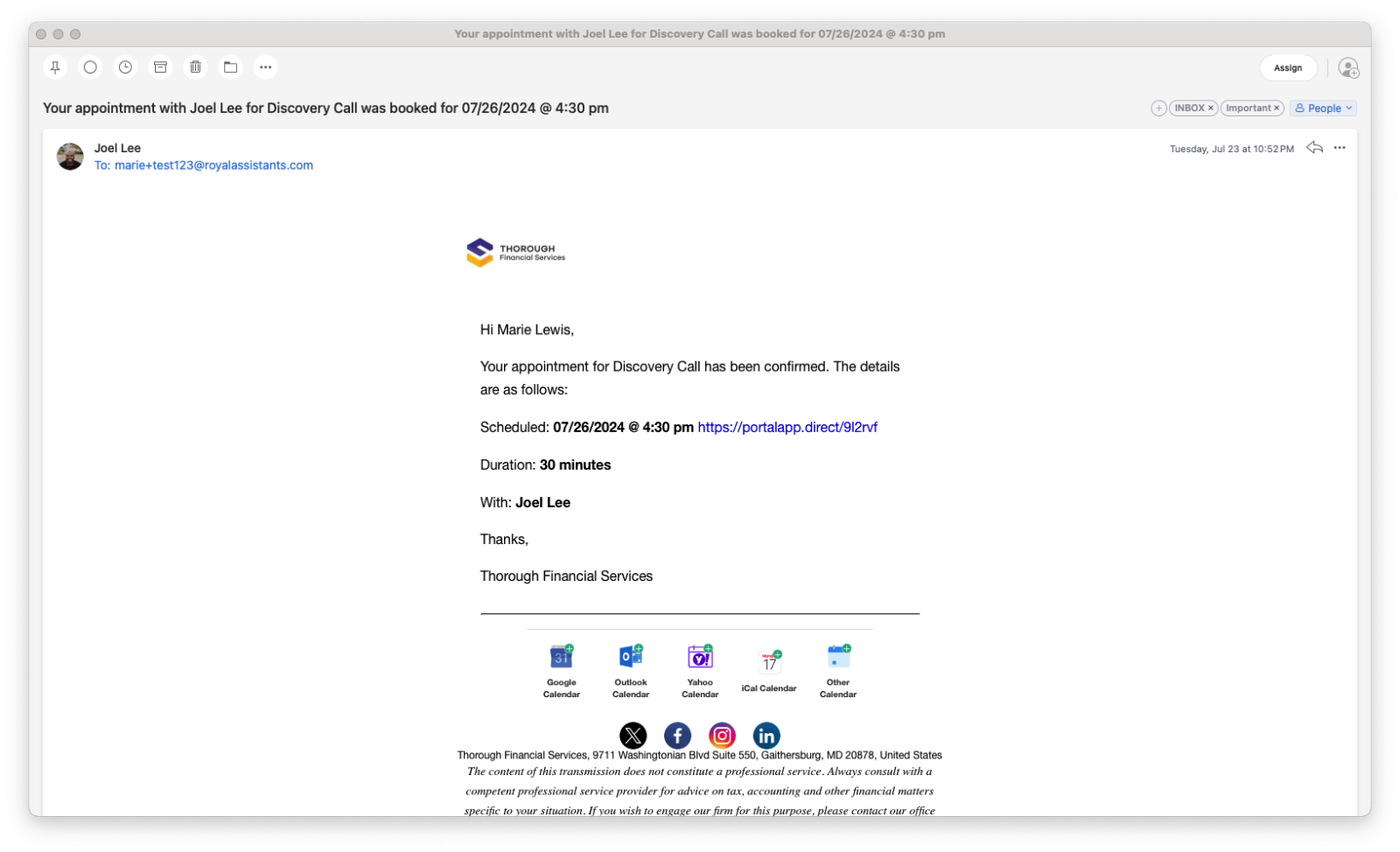
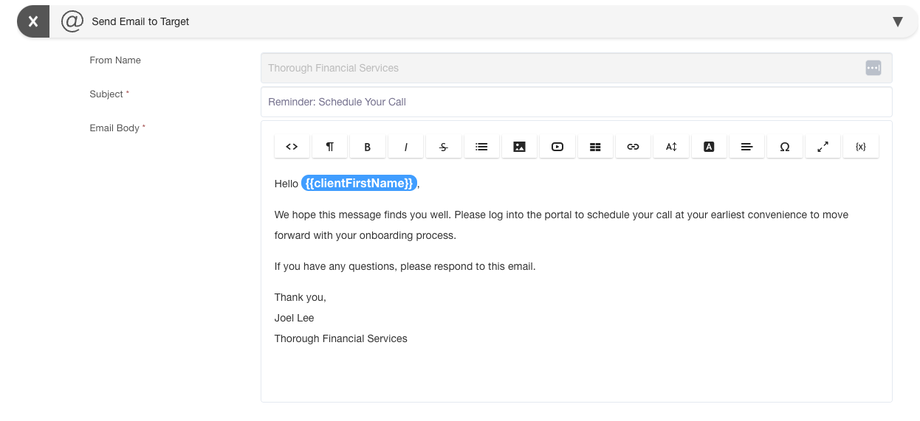
Session Scheduling:
- The client schedules a call through the provided link.
- They are removed from to the Lead.00 Circle and Schedule.
- They are added to the Lead.01 Circle and Schedule.

Client Email Notifications
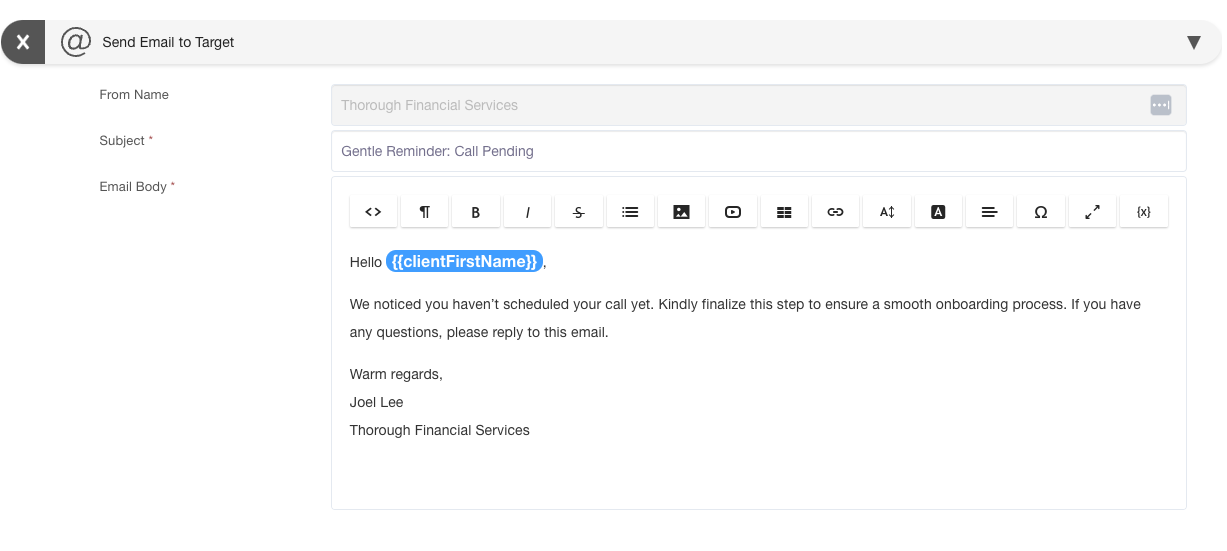
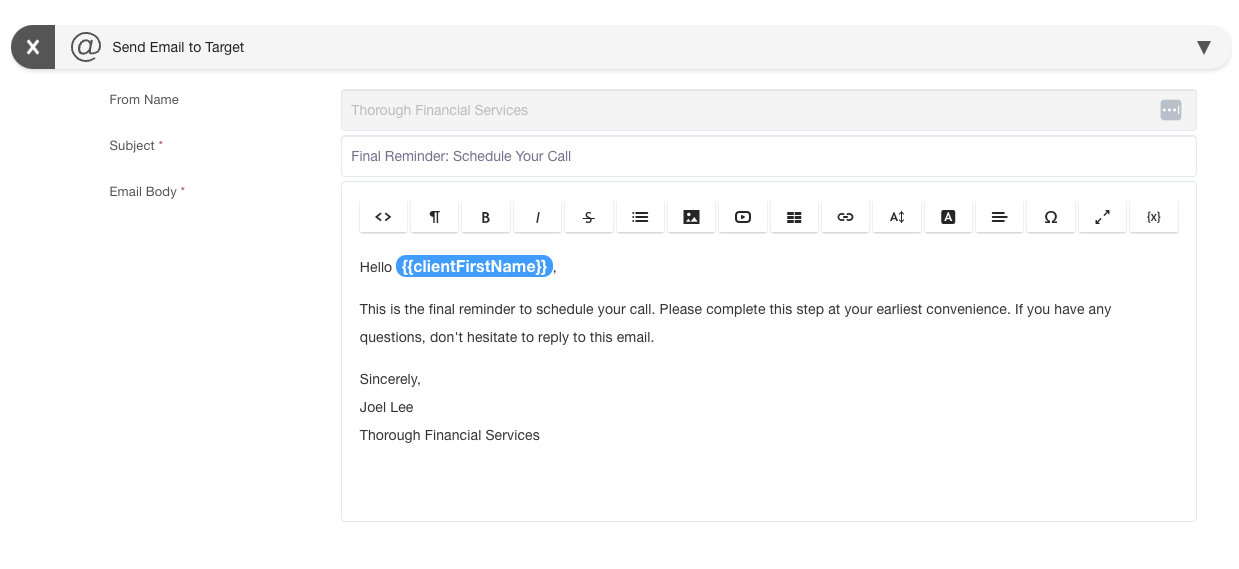
Schedule Direct Link: https://app.suitedash.com/schedules/actions?scheduleID=2179- Lead.01 | Discovery Call x Email # 1: Sent 1 Day after entering the Lead.01 Circle
- Lead.01 | Discovery Call x Email # 2: Sent 3 Days after entering the Lead.01 Circle
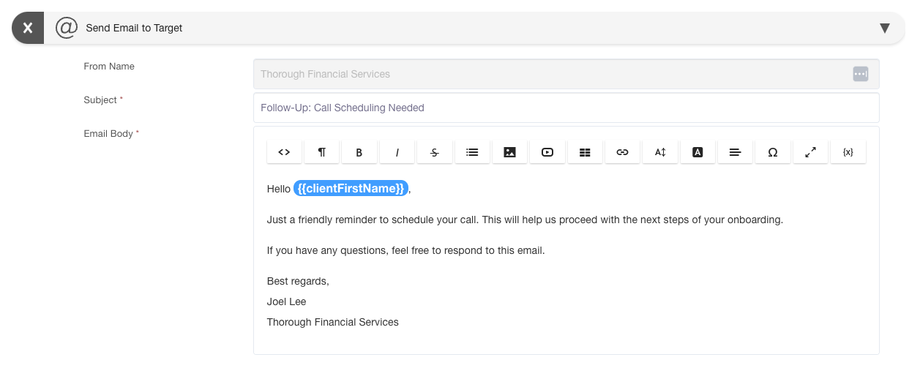
- Lead.01 | Discovery Call x Email # 3: Sent 1 Week after entering the Lead.01 Circle

- Lead.01 | Discovery Call x Email # 4: Sent 10 Days after entering the Lead.01 Circle
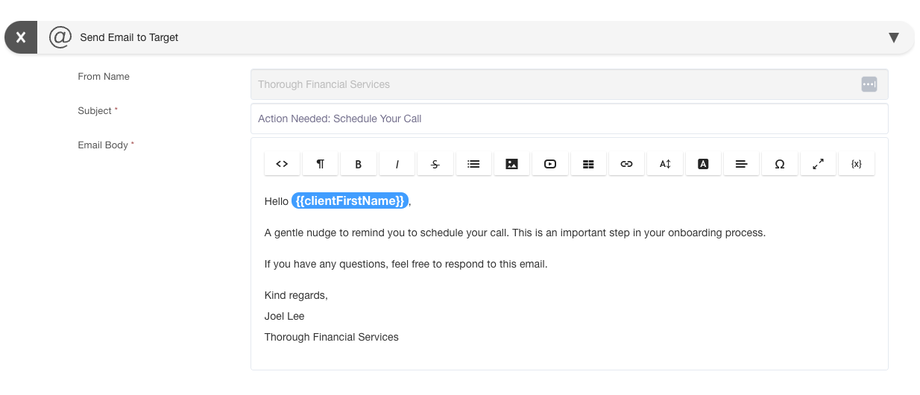
- Lead.01 | Discovery Call x Email # 5: Sent 11 Days after entering the Lead.01 Circle

- Discovery Call Scheduled Confirmation
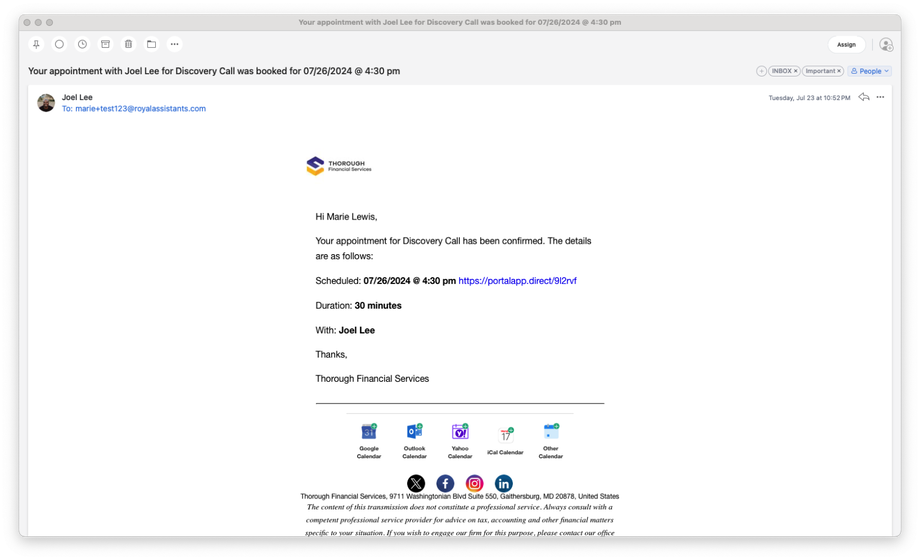
- Lead.01 | Discovery Call x Email # 1: Sent 1 Day after entering the Lead.01 Circle
-
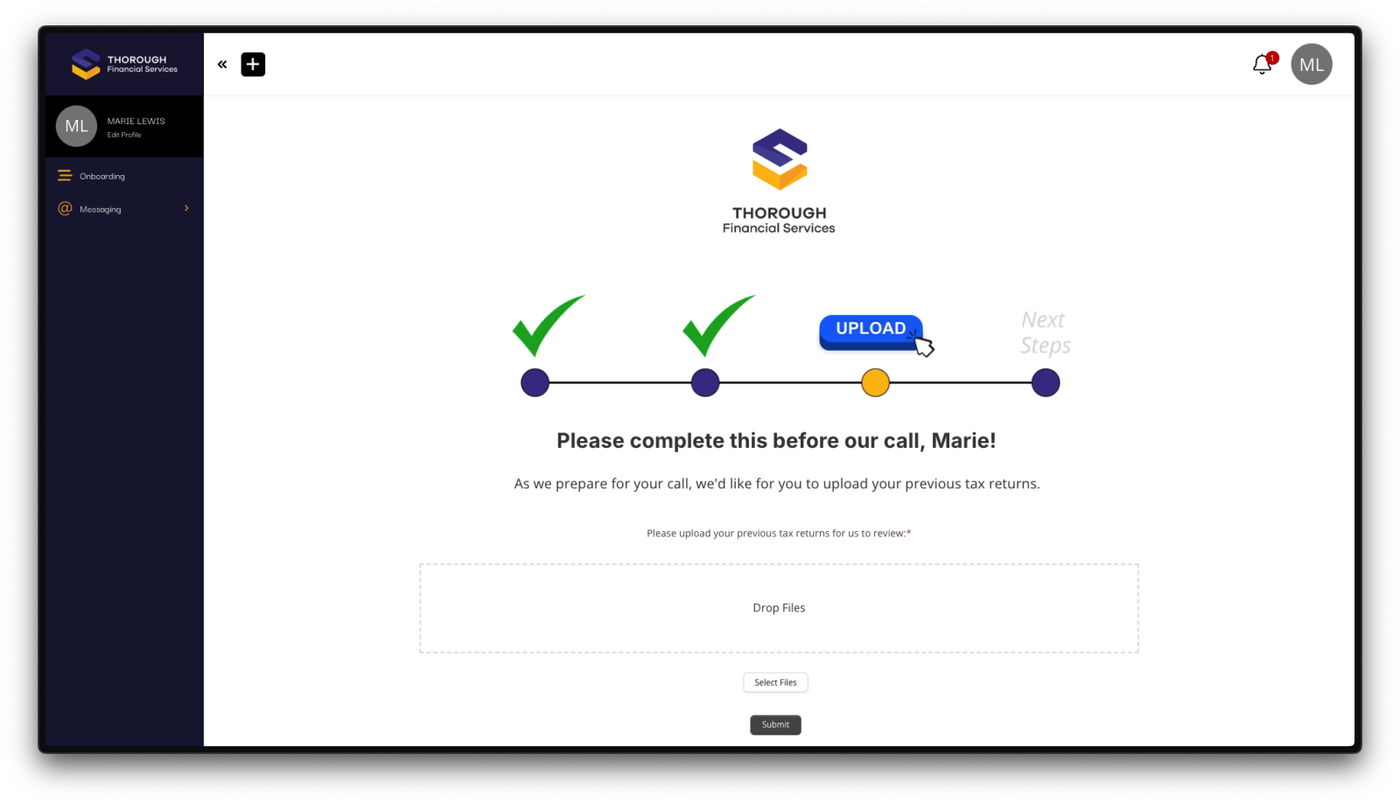
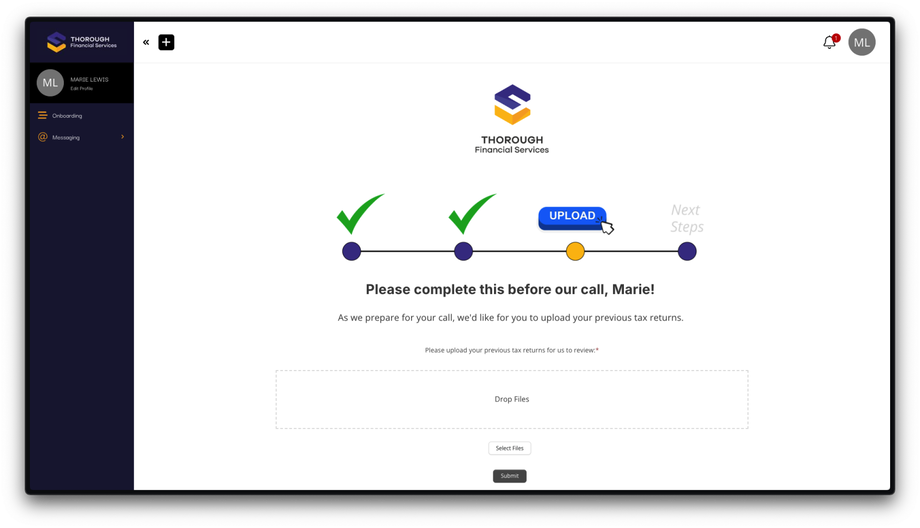
Document Upload:
- After scheduling, the client is prompted to upload necessary documents (e.g., tax documents).
- The client uploads a document and submits it, triggering a notification to the Admin.
- They are removed from to the Lead.01 Circle and Schedule.
- They are added to the Lead.02 Circle. This stage does not have a Schedule because it is not required to be completed before the Discovery Call.
-
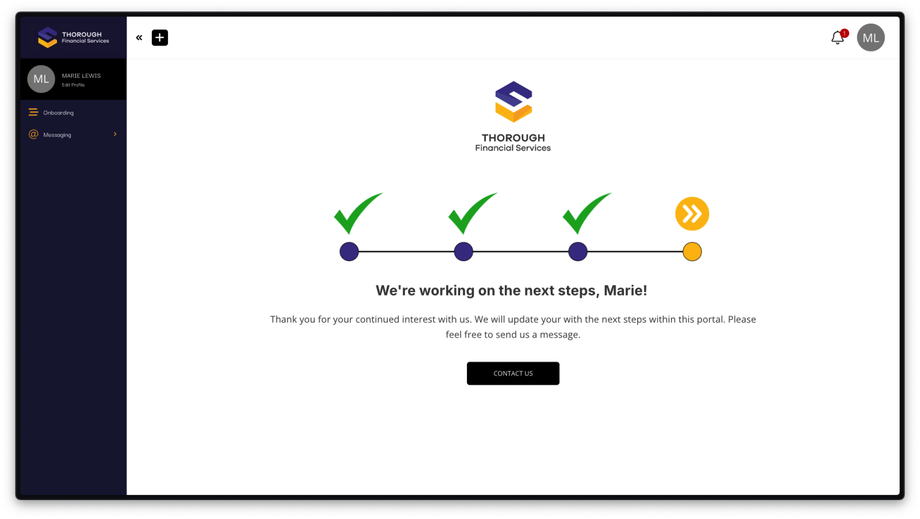
Next Steps:
- The client is taken to a pending page awaiting further instructions or a proposal.
- This stage concludes the initial onboarding process.
- They are removed from to the Lead.02 Circle.
- They are added to the Lead.03 Circle. This stage does not have a Schedule because it is pending the next steps initiated by the Admin.
-
Proposal Phase:
- Once the onboarding is complete, the client moves to the proposal section, which will be covered in a separate video.